How to Detail a Car Exterior Like a Pro Step-by-Step Guide
Getting started with car exterior detailing can be intimidating. With the wide range of exterior car detailing products and techniques to choose from, it's understandable to feel overwhelmed. However, if you want to achieve a professional, showroom-quality finish, it is important to have a good grasp of the fundamental steps involved in how to detail a car exterior.
This blog will guide you through the twelve important steps of exterior auto detailing. While it may appear detailed, these are the fundamentals for achieving the perfect shine and protecting your vehicle's surface.
Step 1: Start with the Wheels
Start with the wheels, as they tend to accumulate the most dirt and grime. By ensuring proper cleaning beforehand, you can avoid any potential splashing of grime onto a surface that has just been cleaned. Start by using a high-quality wheel cleaner like Imperial and be sure to use specialized tools for the job. For cleaning those difficult-to-reach spots, a barrel brush works great, and a soft wheel mitt will enable you to get into every nook and cranny. It is recommended to use two separate detailing buckets for wheel cleaning solution and rinsing to prevent any cross-contamination with your paintwork tools.
Step 2: Pre-Cleaner, Stage One
Just before starting the complete wash, it is important to use a pre-cleaner that is specifically formulated to remove stubborn dirt and bugs, especially on the lower parts of the car. We suggest trying a citrus-infused solution such as Citrus Power Bug and Grime Remover. This product is known for being gentle on wax or sealant layers while effectively loosening dirt. This step is crucial for keeping your car's finish in top shape and getting it ready for the next stages of cleaning.
Step 3: Snow Foam, Stage Two
Using snow foam is a key step in how to clean a car exterior without leaving swirl traces. Using it before washing your car helps to effectively remove dirt without causing any damage to the paint. For optimal results, generously apply a thick layer of snow foam using a foam lance and let it bond to the vehicle's surface and do its wonders before rinsing it off.
Step 4: The All-Important Two-Bucket Method Contact Wash
Now put the mitt to paint, but proceed with caution. Use the two-bucket technique, using one bucket for the soapy water and the other for the rinse. This technique guarantees that you will always have a spotless mitt, minimizing the chance of causing any scratches while washing your car. Choose a top-notch car shampoo such as Lather for a thorough cleaning, and utilize a noodle or plush mitt to ensure effective and safe cleaning.
Step 5: The Decontamination Stage
This stage is crucial for achieving a polished look. Begin by using an iron dissolver to eliminate any industrial fallout and rail dust. Next, use a tar and glue remover such as ObliTARate to effectively get rid of any persistent tar spots. Lastly, use a clay bar and a lubricant like Glide to thoroughly remove any remaining contaminants hence cleaning the car's paint. This step is crucial for effectively removing debris that regular washing may not be able to handle, ensuring that the surface is properly prepared for the subsequent detailing stages.
Step 6: Drying
Drying plays a vital role in how to detail a car exterior. Take your time and work on one panel at a time. Make sure to use a top-notch drying towel like the Aqua Deluxe to avoid any water spots or streaks. To achieve a perfect, streak-free finish, use a quick detailer as it helps remove any remaining water spots.
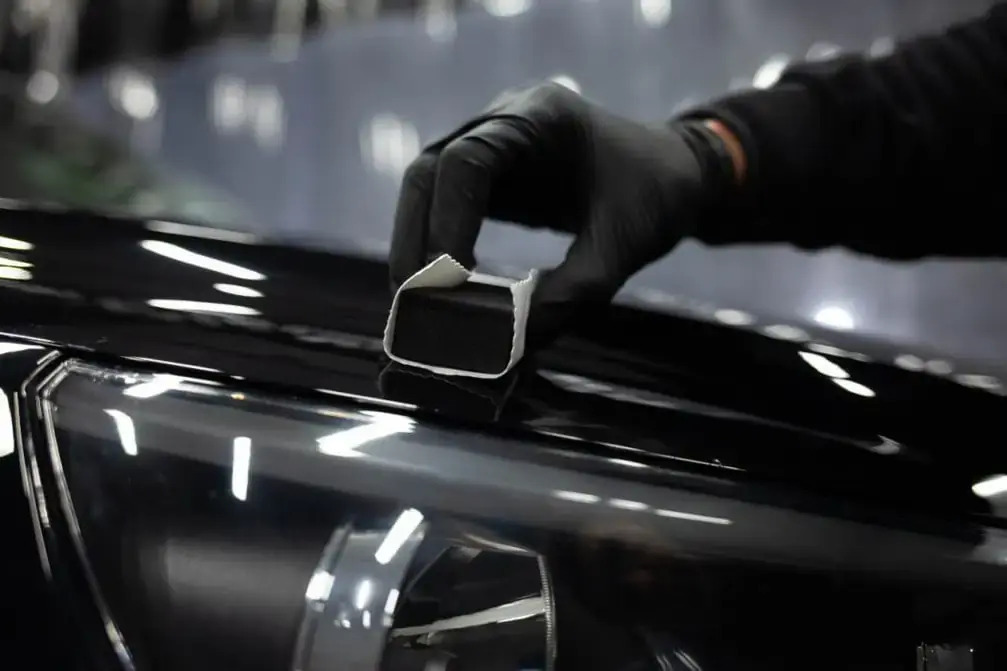
Step 7: Polishing
You can polish the car by hand or with a machine. Although hand polishing can produce a satisfactory finish, a machine polisher delivers exceptional results. If you're new to using a machine polisher, it's a good idea to practice on a spare panel before working on your vehicle's paint, as you'll avoid any potential damage to your vehicle. Use a polish such as Tripple to get a polished look, then after polishing, use microfiber cloths to buff and clean the surface for a perfect finish.
Step 8: Apply the Glaze
Applying a glaze between polishing and waxing can improve the overall look of your paint job. It helps to smooth out any small imperfections and gives your car's color a richer, more vibrant appearance, especially if you have a darker or metallic color. To get that deep, glossy sheen that makes your car stand out, use a non-abrasive product like Ultra Glaze.
Step 9: Wax / Seal
Applying a wax or sealant to your vehicle is an essential part of exterior auto detailing. It helps to preserve the shine achieved in the previous steps and acts as a protective barrier against potential environmental damage. Choosing the correct car wax or sealant is essential for ensuring durable protection and a lasting, radiant shine that will withstand the test of time.
Step 10: Tyre Dressings & Trim
After cleaning the tires and trims, it is time to enhance their appearance by using products designed to restore the color of plastics and create a smooth finish to your tires that does not leave a greasy residue. To get a shiny finish on your tires without making them too greasy, use tire dressings like Gloss. The Handi Puck applicator is perfect for achieving a smooth and even application, giving your vehicle's tires and trim a professional and polished appearance.
Step 11: Glass
Glass detailing is often overlooked, but it is crucial for achieving a professional finish. For optimal results, consider using a top-notch glass cleaner such as Crystal. This will effectively eliminate minor scratches, fingerprints, and any other unwanted residues, leaving your windows crystal clear and free from streaks. The final detail completes the detailing procedure and improves the overall appearance of your car.
Step 12: Final Touch-Up
The last step in detailing a car’s exterior involves adding those final touches. Use a quick detailer to get rid of any residue, fingerprints, or dust that's still on your car. This will make it look like it just came out of the dealership. To get that absolutely perfect finish and to top off all of that meticulous detailing, a product like Crystal is an absolute must-have.
Conclusion
By following these 12 steps of car exterior detailing, you can easily transform your vehicle into a visually impressive masterpiece, ensuring a long-lasting shine. Every step is carefully crafted to improve and safeguard your car's appearance, guaranteeing a polished and professional finish. If you have any questions or need support with your exterior car detailing process, feel free to reach out to us at Right on Detail. We're here to help you enhance the look of your vehicle.